| Issue 153 | July 26th 2013 | Contact the Editor | How to Contribute |
|
| ||
|
Once upon a time...
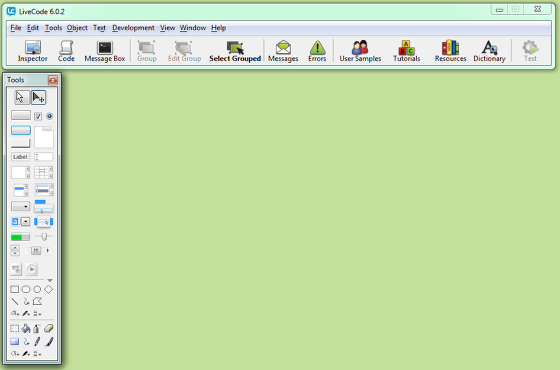
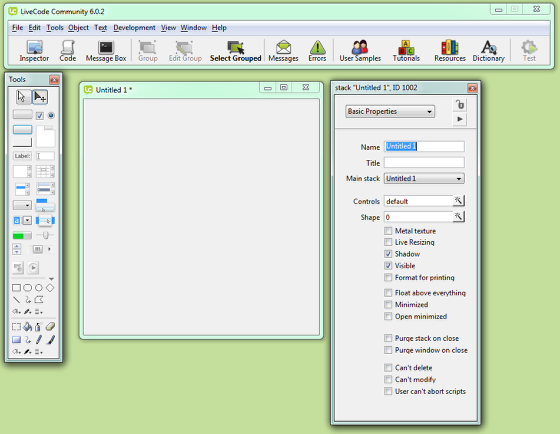
This tutorial shows you how to create an app which allows the user to create a small story by choosing the character's name and description. The app demonstrates building a GUI, working with text, asking the user for input, animation and sounds. Opening LiveCodeWhen you open LiveCode you will see the Integrated Development Environment (IDE). LiveCode uses drag and drop UI creation, an English-like coding language and a compile free iterative development Stacks and CardsLiveCode works with a stack and card metaphor. Each app you create is a stack, each stack consists of one or more cards. Each card can have a different appearance and you move between the cards to change what the user sees. Creating a new stack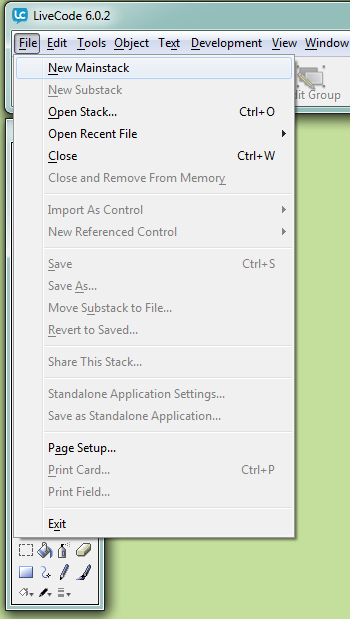
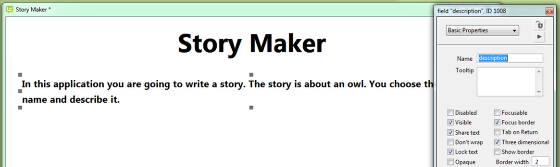
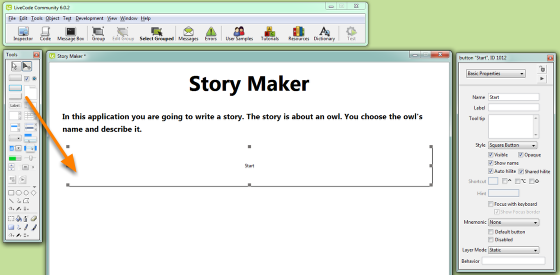
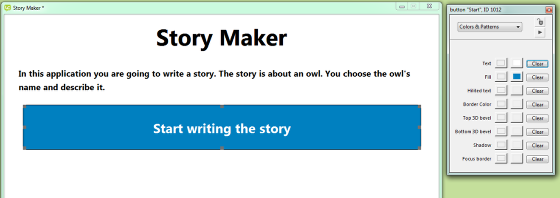
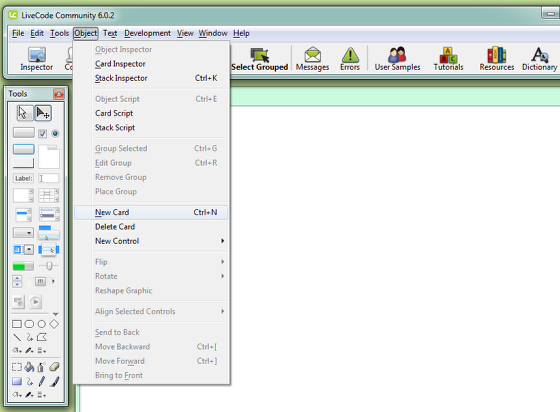
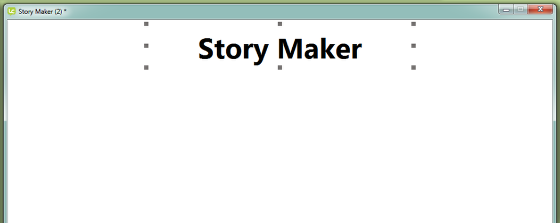
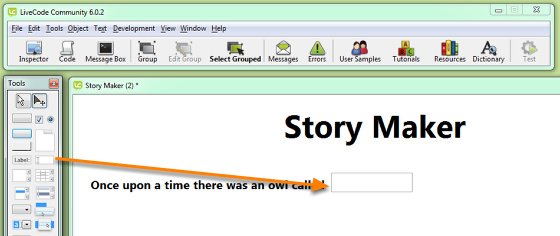
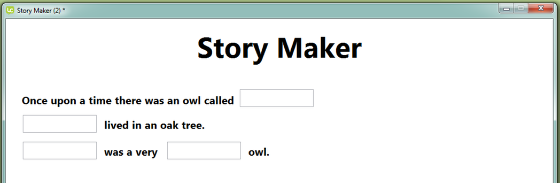
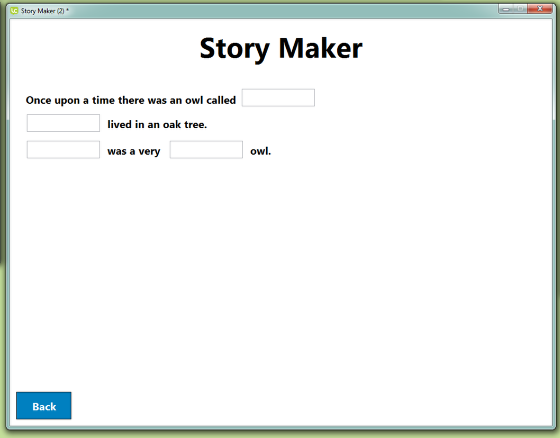
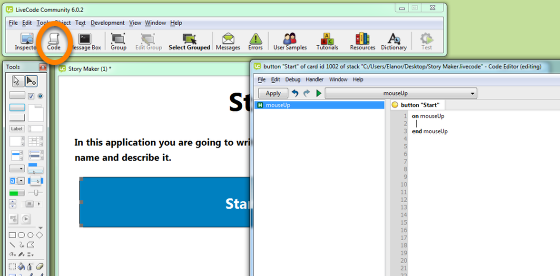
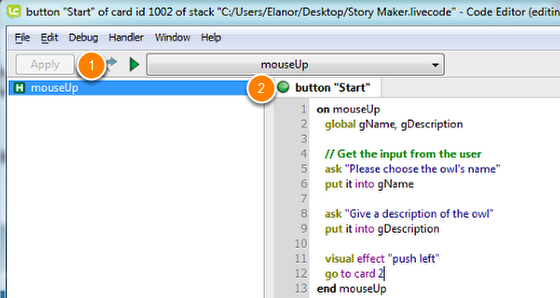
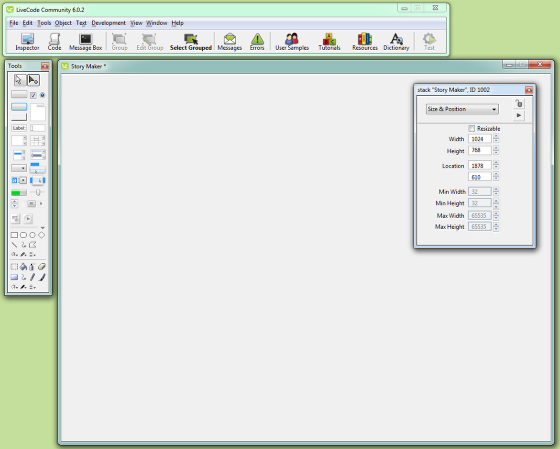
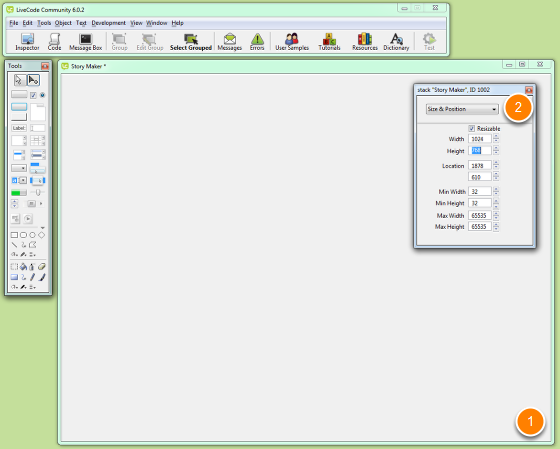
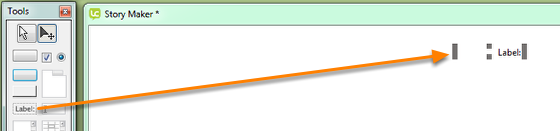
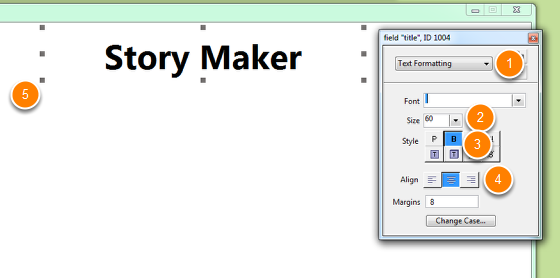
To start a new app you first create a new stack. Select New Mainstack from the File menu. The Property InspectorEach object in LiveCode has a set of properties that control how it looks and behaves. All of an objects properties can be edited in the Property Inspector or in script. The Property Inspector can be opened via the Object menu or by clicking the Inspector button in the Menubar. Naming the stackNext you want to name the stack. This is done by opening the Property Inspector for the stack and setting the name property to "Story Maker", or whatever you choose to name your app. Open the Property Inspector for the Stack by choosing Stack Inspector from the Object menu. Resizing the stackNext resize your stack to your preferred size. You can do this by dragging the corner(1) or by choosing the Size and Position pane in the Property Inspector(2) and setting the width and height. If you are planning on deploying to a mobile device it is a good idea to set the stack to the correct size at this stage. The size for an iPad is 1024 x 768. You can also turn off the Resizable property so that you don't change the stack size by accident. Setting the stack background colourNext we want to set the background colour of the stack to white, all cards will inherit this background colour. The background colour of the stack should have changed to the selected colour. Adding a field to the stack - 1Next we want to add a field to our stack to display the title "Story Maker". Drag a label field from the tools palette onto the stack. This creates a field object that you can then work with. A label field is not editable by the user to is a good choice for a title. Adding a field to the stack - 2Now we want to add some content to the field - Select the field Your field should now display the title "Story Maker" Adding a field to the stack - 3Now we want to make our stack look more like a title - Change the Property Inspector to show Text Formatting You will probably notice that the field is now too small to show all the text so grab one of the handles and drag to make it bigger. Then place your title where you want it to be. Adding a description field to the stackNext we want to add a description of what the app will do. Repeat the steps above to create a second field that contains the text "In this application you are going to write a story. The story is about an owl. You choose the owl's name and describe it." - Give the field a descriptive name Adding a button to the stack - 1Next we want to add a button that the user clicks to start writing the story. Drag a square button out from the Tools Palette onto the stack. As before use the Property Inspector to name the button and then resize the button as you wish. Adding a button to the stack 2Similarly to the field we will use the Property Inspector to change how the button looks. - A button can have a name which is used to refer to it in script, and a label which is the text that is displayed on the button. Set the label of the button to "Start writing the story". Adding a second cardNow that we have set up the introduction card we need a second card that will show the story. Add a second card to the stack by choosing New Card from the Object menu. LiveCode will automatically switch to the new card so when everything goes blank that's fine. Setting up the second cardThis card will have a title, the same as the first card, so follow those steps again to create the title field. Setting up the story fields - 1Next we need to add some field to tell the story and fill in the owl's name and description. - Add a label field to tell the first part of the story Setting up the story fields - 2Next we want to add a field that will display the name chosen by the user. Drag a field from the Tools Palette and place it after the label field you just created. Open the Property Inspector for the new field Setting up the the story fields - 3Now repeat this to build up the rest of the story. Give the fields descriptive names as we will be referring to them in code. My story has 4 label fields, "part1","part2","part3" and "part4", 3 fields that will display the owl's name, "name1","name2" and "name3" and one field that will describe the owl, "description". You can set up your story however you like, this is just an example. Adding a buttonThe last thing we need to add here is a button that will take up back to the introduction screen. As before drag a button onto the stack, name it "Back" and set up it's display properties using the Property Inspector. Coding the applicationNow we are ready to start making the application work. Go back to the first card using the Go First option in the View menu. You should now see the Introduction card again. EventsLiveCode is an event driven language, this means that is waits for a user interaction and informs us when one takes place. We create our application by deciding which events to respond to and creating handlers with name that match the event. The code in the handler is executed when the matching event occurs. Adding code to the Start buttonIn this case we want to respond when the user clicks the Start button. The message we are interested in is mouseUp. Select the button and open the Code Editor by clicking the Code button in the Menubar. You will see that the button script is automatically populated with an on mouseUp handler, we just need to fill it in. The Start button codeIn the Start button we want to ask the user to choose the owl's name and describe it, we want to store their answers and then we want to go to the Story card. We will use global variables to store the name and description and the ask command to get input from the user. Add the following code to the mouseUp handler on mouseUp The go command changes cards and the visual effect command specifies a screen transition to be used when changing cards. Compiling the codeCompile the Code by clicking the Apply button (1), the indicator should turn green to show there are no errors(2). Testing
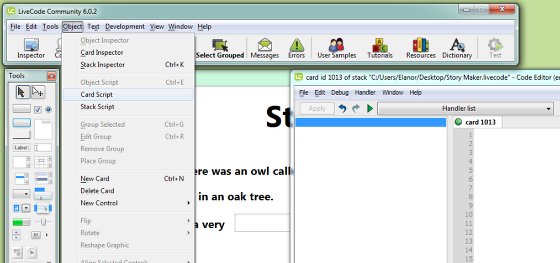
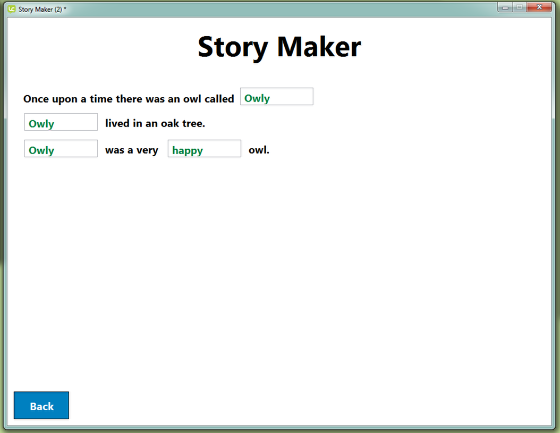
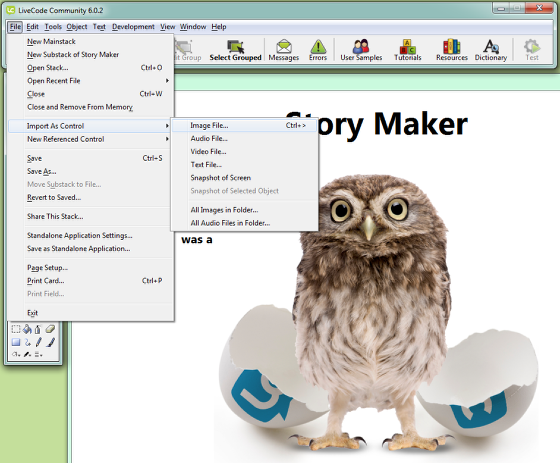
LiveCode allows you to switch instantly between Editing and Testing. You do this in the Tools Palette by choosing Run or Edit mode. Run mode allows you to interact with the application. Switch to Run mode and click the Start button. You will be asked 2 questions and then moved to the second card. Telling the StoryWhen we move to the second card we want it to show the story, including the name and description chosen by the user. To do this we add a handler to the card script which is called when the card is opened(arrived at, gone to). By handling this message we can update the card when it is opened. This message is openCard. Open the Card Script from the Object Menu and add the following code. on openCard This code uses the global variables set up in the Start button and displays their values in the fields we created earlier. Apply the code. Adding code to the Back buttonNow we want to get back to the Introduction card. To do this we add some code to the Back button. - Select the Back button on mouseUp - Apply the code You can now click the Start button to write your story and you should see it appear. Adding an image - 1To make the application a bit more interesting we can include images. While w are on the story card we will import an owl image, this is available in the Resources folder. In the File menu choose Import As Control -> Image File and choose the owl image. It will appear on your stack. Adding an image - 2As with any other object type you can select the image, move it and set its properties. - Ensure you are in Edit mode Animating the imageTo make the app more interactive we can animation the owl my moving it onscreen when the card is opened. To do this we use the move command which smoothly moves a control from one position to another. Open the card script from the Object menu. Firstly we need to move the owl image offscreen, we will do this by adding a second handler for the message preOpenCard, this message is sent before the user sees the card so we can do updates here. By setting the location property of an object we change its position, the location is the centre point of an object. We the update the openCard handler to move the owl onscreen. Add the following code to the Card script on preOpenCard on openCard Apply the script. Testing the AnimationSwitch to Run mode. - Click the Back button to return to the Introduction card Adding a sound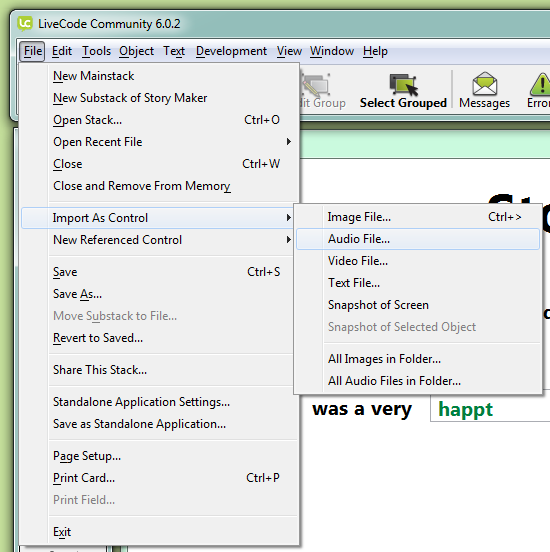
Another nice feature of LiveCode is the ability to add sound. Sound can be imported in the same way as images. In the File menu choose Import As Control -> Audio File and choose the owl sound, this will import the sound and make it part of your stack. Playing a soundWe want the owl sound to play once the image is onscreen. To do this we handle the moveStopped message. Ensure you are on the Story card, use the View menu if you need to change cards. opine the Card script from the Object menu and add the following handler, this will play the sound we just imported when the move command completes. on moveStopped Apply the script, switch to Run mode, go back to the Introduction card and run through the story creation. You should now be able to choose the Owl's name and description, see your story with your choices filled in, see the owl image move onscreen and hear the owl sound when the animation finishes. ExtensionsThere are lots of ways you could modify this app - Ask more questions

Tweet
|


.png)